Clicker Training 101: Your first clicker session (including a step-by-step training plan and answers to your most pressing questions)
When you are new to the idea of clicker training your horse you might ask yourself: How do I start? What do I need? Where do I buy these things? How do I teach my horse to respond to the clicker?

These and more questions are answered in this blog to help you get started.
What is clicker training?
Clicker training is a way of using positive reinforcement (R+) to train your horse.
Reinforcement means strengthening a behaviour, in other words: you get more of it. The word ‘positive’ in a scientific context means ‘adding’ or ‘present’.
In positive reinforcement you add something to create more behaviour. That ‘something’ must be pleasurable (appetitive) in order for the horse to want it and want to work for it. Win-win. Read more about the basics here (link opens in a new window).
In order to communicate to your horse the exact behaviour you are rewarding for you use a sound (a click from a box clicker or another unique sound that is only used for this purpose) to pinpoint the behaviour you want more of.
Horses learn pretty quickly to associate the click with a treat and to perform the ‘clicked’ behaviour in order to earn more clicks (and treats).
Clicker Training is not about the Treats
Clicker training differs from traditional and natural horsemanship training because it is based on the horse’s choice to cooperate. No force involved, but don’t worry: horses are very willing to cooperate with you. Especially when you use appetitives and a clear way to communicate what you want (with the click)!
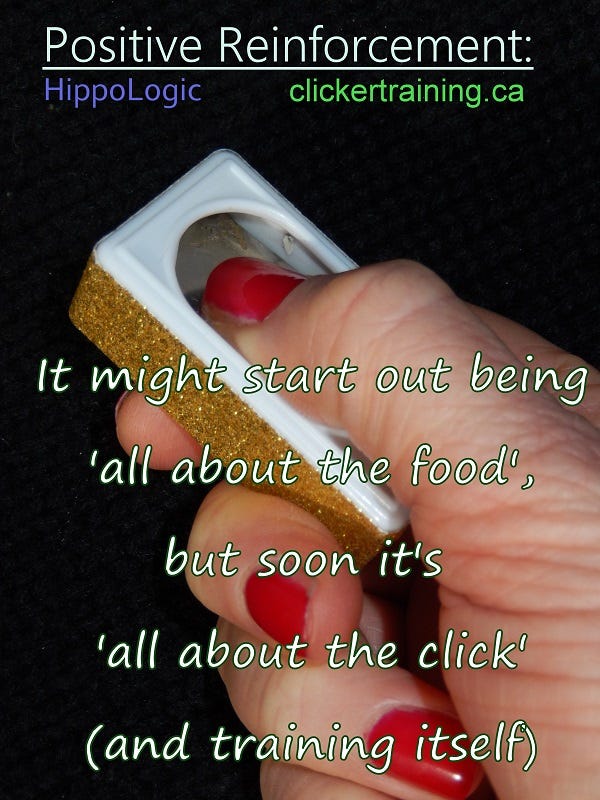
Horses really like clicker training once they understand the principle and most horses will bond with you more in training! It might start being ‘all about the food’ but soon is is all about the click and training itself. They love to figure out what you want.
What do I need for clicker training?
You need 3 things to get started:
A plan
A clicker
Appetitives (treats your horse likes).
Where do I buy a clicker?
A box clicker is almost always found in pet stores in the dog training section.
You can also find clickers online. The price varies from $2 to $ 5.
No need to buy a fancy one.
I think ordinary two-dollar box clickers work best. Mine lasts forever, unless I lose them.
You can also use one unique word. A word that you, from now on, only use to tell your horse: “Well done, here’s a treat.“
This can be challenging, so for beginners I advise using a clicker. Your horse will also learn that without a click or clicker, no treats can be earned.
What treats are best?
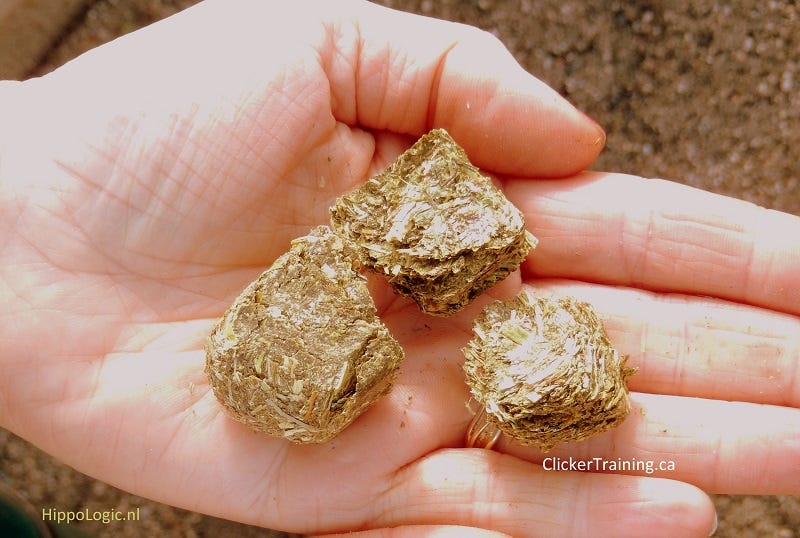
Treats can be your horses’ normal dinner grain, hay cubes (see picture), alfalfa cubes, home made horse treats (recipe found here), store bought treats, pieces of apple or carrot.
Horse treats are found in equestrian stores.
Hay cubes/alfalfa cubes, grain and pellets can be bought at feed stores.
Fruits and vegetables can be found at your local grocery store or supermarket. You can even ask for disposable fruits and veggies.
Start with medium to low value food rewards: dinner grains or even just hay can be great to tart with.
High-value foods like carrots, apples and commercial horse treats will overexcite your horse.
How to Start Your First Session
A plan is a bit more difficult since you have to come up with one yourself.
In clicker training we can our plan a shaping plan because we use the clicker to shape the desired behaviour step-by-step. Read more about shaping plans here.
How do I teach my horse to respond to the clicker?
Start working with protective contact (a barrier) between you and your horse. In this way you can practise the sequence CLICK - REACH FOR A TREAT - FEED.
This is very important: always click first, then reach for a treat from your pocket.
If you’d reach for a treat first, your horse will pay attention to your hand instead of paying attention to the click to get information if a treat will come his way or not.
Keep your hands out of your pockets! Only get a treat after you’ve clicked!
Shaping plan: a step-by-step training manual
Pick your goal. Write it down. Divide your goal into smaller steps. Now you’ve made a ‘shaping plan’.
A shaping plan is a written plan for training a behaviour with positive reinforcement (aka clicker training).
Writing down and thinking about your strategy (before you start training) increases your success.
If you don’t plan ahead, you’ll get stuck easily. You, or your horse, can get frustrated. No big deal, just stop and take a breath to overthink your next best step.
A plan for your first session can look like this:
Start by counting out 10 -15 treats. Put them in your pocket. That will be enough for your first session.
Start with a barrier between you and the horse.
You can put him in his stall, or use the paddock fence as a barrier. Do not use hotwire as a barrier. Not even when the electricity is turned off. You need your horse to trust you, and when he gets shocked in training, it will destroy trust.Use your horse’s name to get his attention.
This will let him know something is about to happen. He will learn in a few repetitions that something good is about to happen. So don’t worry if he doesn’t respond at first.Make sure you can easily present the treat through or over the barrier.
The click-treat must be fluent.Think about your sequence:
1. click 2. reach for food 3. feed.
Do not ‘get a treat ready’ before you click. Your horse will soon pay attention to where your hands are, instead of paying attention to the click. The signal that is really marking good behaviours.If the click startles the horse, keep your hand with the clicker in your pocket, your sleeve or behind your back to muffle the sound.
Repeat the click/reach for a treat from your pocket/offering the treat several times.
Your horse will start to pay attention to the click. The click announces the treat. For you, it’s practise in the mechanical movements of click-reach for a treat- feed.Check your treats. Is your pocket empty? Don’t click.
Instead, stop and give your horse a break. Refill your pocket before you start training again. Check each time before you click, if you can deliver.After you’ve clicked and given your horse 10-15 treats, give him a break.
Teach your horse an End-of-training signal. Show your empty hands and tell your horse the treats are gone. A consistent end -of-session signal offers your horse clarity. He won’t start mugging you.
Use your end-of-session signal after each short session and at the end of each training.
Horses learn quickly
According to studies, it takes 30 - 50 repetitions for an animal to really associate the click with a treat.
In my experience, most horses start to really pay attention to the click after 5 - 10 clicks. They start offering behaviours.
They want to figure out what made you click.
What do they have to do to get a click & treat?
This process (session 1) is called ‘loading the clicker‘. You’re teaching your horse to pay attention to the click because that is the precursor of something pleasurable (the treat).
How do I start clicker training my horse?
If you have never clicker trained an animal before, you can start best with Loading the clicker exercise (see above).
Observe the behaviours your horse is offering. Become specific when you’re clicking. Every click reinforces the behaviour your horse is doing.
if your horse was just checking out your pocket while you’re pressing the clicker, your horse thinks: I have to smell your pocket to get a treat.
If you want to prevent mugigng, click when your horse is moving away from your pocket.
What is next?
The next step is to teach your horse to take food gently.
I teach all my students to pay attention to how the horse takes treats from their hand. Is he gentle and only using his lips, or does he use his teeth too?
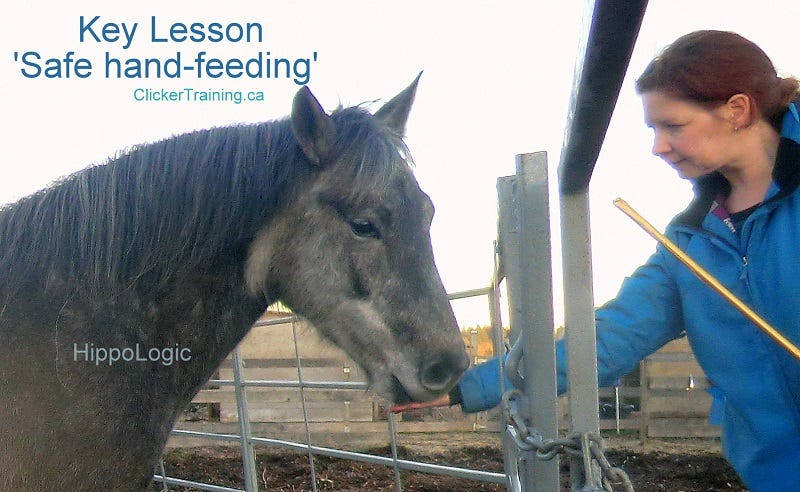
Because we almost always use food as a training tool, it’s very important to teach your horse safe behaviours around treats in training and food in general.
In the HippoLogic method, this is called Key Lesson Table Manners for Horses.
How long does it take to get results?
After only a few 5-minute sessions, you can expect to see results.
Your horse starts to anticipate the clicker and clearly tries to figure out what you want.
Now it’s time to become specific what to click for.
How often should I clicker train my horse?
The more complex your goal behaviour is, the more sessions it takes to teach your horse.
Simple tricks or easy behaviours, like the 6 Key Lessons (the foundation lessons of clicker training, see below) can be achieved in just three to ten 5-minute sessions.
Even with only one day a week, a few 5-minute sessions per day can get you results. Horses learn by repetition and practising.
Like with every new skill, the more you practise, the sooner you will master it. Although you can overdo it.
What is the best way to get results with clicker training?
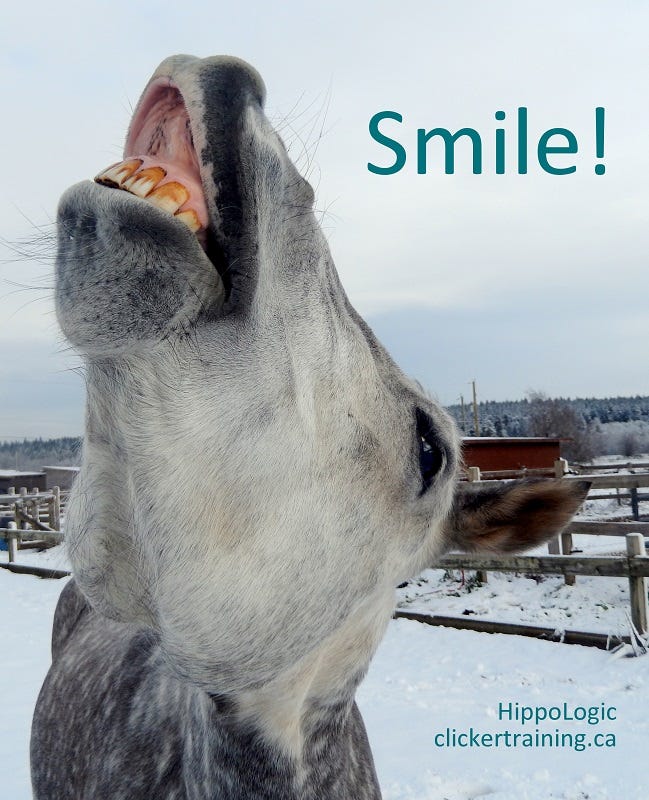
Keep training sessions always short.
Multiple short (= few minute) sessions with breaks in between, often give better results than just one very long session.
Stop when either of you gets frustrated.
Stop while you both are still having fun! This will make the next session even more valuable!
Clicker training increases the bond with your horse
When you start clicker training your horse, you will notice that your horse starts to pay more attention to you.
He starts to like his training more and more now that there is something for him to earn. Something he likes.
Your horse might start coming to you in the pasture when he sees you. Some horses start to greet their owners with a nicker. That means he’s very fond of you.
The more fun you both have, the stronger your bond will become.
Clicker training is a great way to understand your horse better. What does he like, what doesn’t he like? When is he eager to learn, and when does he become bored or tired?
Clicker training done right is FUN for both horse and human. Win-win!
Please share
If you think this is a blog that someone can benefit from, or if you want to share this on your social media, please use one of the share buttons below.
I also love to hear from you, so please add a comment. I read them all!
If you don’t know what to say simply hit the like button so I know you appreciated this blog. Thank you!
Happy Horse Trainng,
Sandra Poppema, clicker training horses since 1999.
Founder of HippoLogic

Free Mini Course Intro to Clicker Training Horses
PS If you’re interested in learning more about clicker training horses, I have a FREE mini course for you to start.